How to Draw A Mouse Easily
How to Draw A Mouse. Rats have gained a bad reputation among humans due to the spread of plague and disease.
Also check our coloring pages for kids.
While they have been responsible for such things in the past, they have been pretty misunderstood creatures.
They can be knowledgeable and imaginative, and they can also make lovely pets!
Mice are also often featured in cartoons, and learning how to draw a mouse is a great way to create your mouse scenarios.
If you love these misunderstood rodents, this will be a drawing tutorial to be noticed!
Our step-by-step 6-step guide to drawing a rat will show you how to create a cute cartoon version of one of these clever little rodents.
How to Draw A Mouse
Step 1
For this first step of our tutorial on how to draw a mouse, we’ll start with the mouse’s head and face. First, draw two small circles with a dot for the eyes.
These curved lines below and above them add more personality to the mouse’s expression.
Next, draw the top of the head with a small curved line. You can add ears by drawing large, round shapes next to the head.
Finally, for this step, we’ll draw the mouse’s face. This is small and pointy in real life, but we’ll make it cartoon-sized.
Use a long rounded line for the big snout, then add a rounded triangular nose at the end.
Step 2
Now let’s draw the rest of the mouth and some details for your mouse drawing in this second step.
First, draw more curved lines to form two long shapes under the mouth for the rat’s teeth.
Next, add a rounded line underneath and connect some pointed lines with the one for the furry lower part of the mouth.
The reference image shows you what it should look like! Next, we draw the inner shapes of the ears.
Draw some lines along the inner perimeters of the ears and add some pointed lines near the bottom to give it a furry look again.
Step 3
We’re done with the head of the mouse for now, so in this third step of our guide on how to draw a mouse, let’s focus on the rodent’s body and limbs.
First, one final element to add to the face is a square shape at the bottom of the snout tip for some buck teeth. Then you can pull the tiny paw of the left arm under the face.
We then use a combination of curved, jagged lines for the mouse’s chest and abdomen and similar lines for the top leg. Finish by drawing the big foot on the left, and then we can continue.
Step 4
In this fourth step, you will add a lot to your mouse drawing!
Using a line drawing similar to the rest of the furry body, we’ll add another arm with a foot on the right end.
Next, draw curved lines for the other side of the body and the top of the other leg.
As everyone knows, mice love a piece of cheese! Because of this, we’ll add a triangular slice of cheese for the mouse to look at. Then, in the next step, we’re ready for some final details!
Step 5
Before we add some colors to this image, we need to add a few final details in this step of our how-to-draw a mouse guide.
First, draw another foot with rounded toes at the end of the right leg. After all, it wouldn’t be a mouse without a long leathery tail, so let’s add one now, too!
The outline of the tail is drawn with some wavy lines, so you can add some texture by drawing lines over it.
Make sure to add more details or background elements then we can move on to the final step!
Step 6
This is the last step in drawing the mouse, and we will finish with some colors.
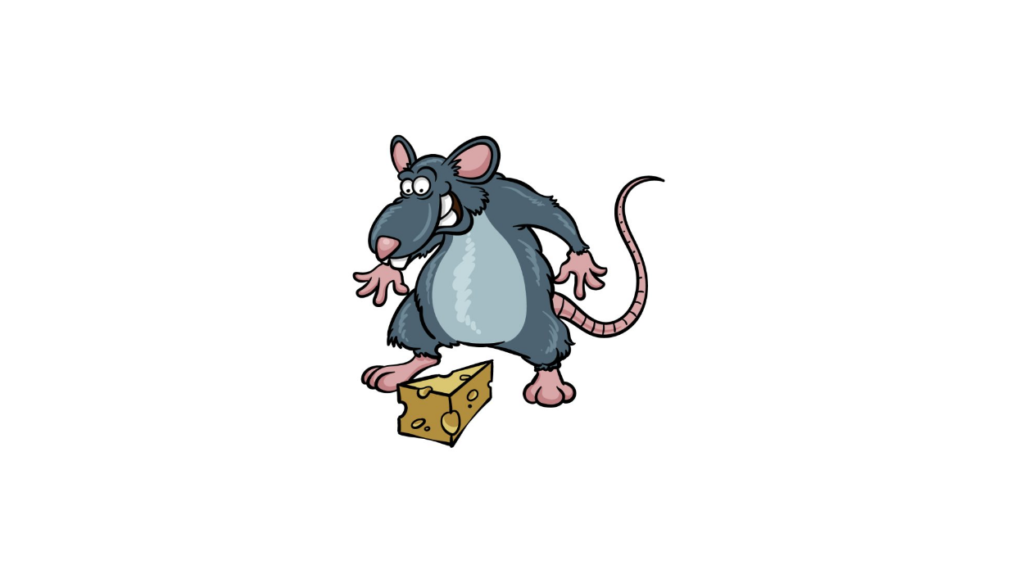
Mice can come in many colors, but in this reference image, we’ve chosen dark gray tones for most of the body and lighter tones for the abdomen.
Next, we used pink for the legs and tail and finished with yellow for the cheese.
Do you think you’ll go for a few similar colors, or would you instead go for some unique color choices? We can’t wait to see what you’re looking for!
Your Mouse Drawing is Finished!